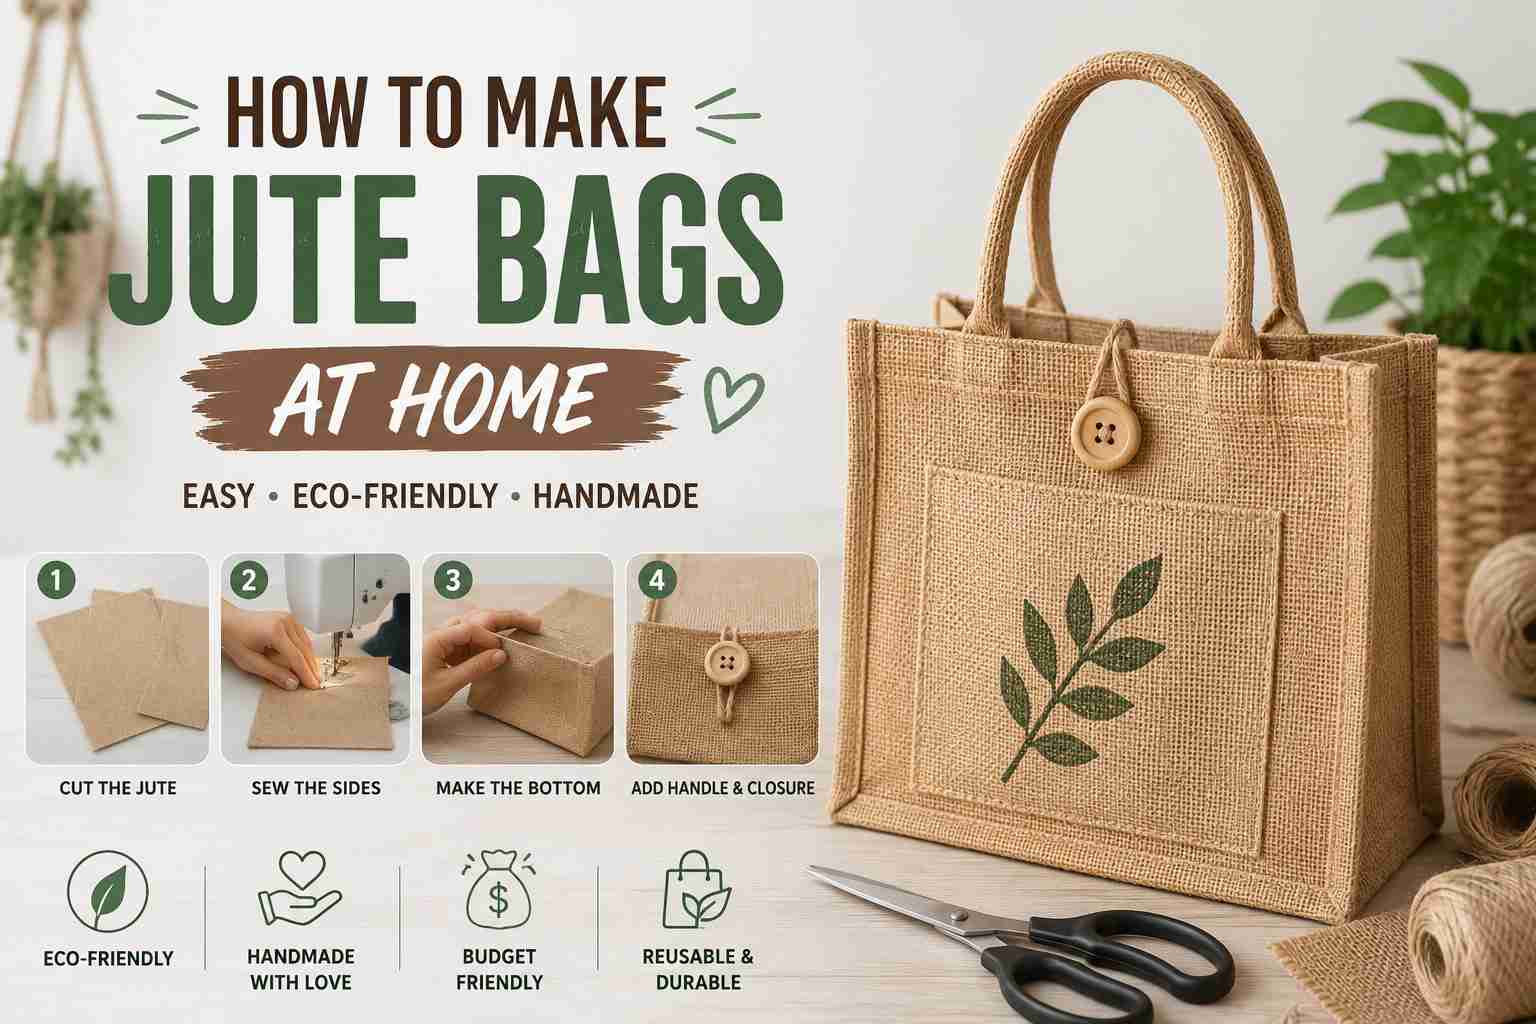
How to Make Jute Bags at Home, Let’s be honest — every time you grab a plastic bag at a supermarket, somewhere a seagull sheds a tiny tear.
The good news? You can fix that with a piece of jute fabric, a pair of scissors, and about an afternoon of your time.
Making jute bags at home is one of those projects that sounds more complicated than it actually is. You don’t need a professional sewing setup or years of craft experience. You need the right materials, the right steps, and a bit of patience — all of which we cover right here.
Why Jute? The Case for Ditching Plastic
Before you pick up a needle, let’s talk about why jute deserves your time.
Jute is one of the most eco-friendly natural fibres in the world. According to researchers and sustainability experts, one hectare of jute plants absorbs up to 15 tons of CO2 from the atmosphere and releases around 11 tons of oxygen in a single growing season — more efficiently than most trees, as documented by environmental researchers at Zaza Coffee and textile sustainability platform Zitozza.
The plant grows to harvest in just 4 to 6 months, requires minimal pesticides, and needs almost no irrigation in most growing regions. And when your jute bag finally wears out? It biodegrades naturally within 1 to 2 years without leaving microplastics behind.
Compare that to a plastic bag — which can sit in a landfill for up to 1,000 years — and the case makes itself.
What You Need Before You Start
Good tools make good bags. Don’t skip this part.
Jute fabric: Choose a medium-weight jute fabric — 9 to 12 oz per square yard works well for most home projects, as recommended by bag-making guides on Szoneier. You can find it at most craft stores or order it online. Common starting size for a standard tote: 18 inches by 24 inches for each panel.
Other materials:
- Sharp fabric scissors (dull scissors on jute = frustration)
- Measuring tape or ruler
- Chalk or a washable fabric marker
- Strong polyester thread (jute fabric is heavy; weak thread will betray you)
- Sewing machine with a denim needle (size 90/14 or 100/16), OR a heavy-gauge hand needle if you’re doing this without a machine
- Straight pins or fabric clips
- Optional: cotton lining fabric, zari or fabric trim, fabric paint, iron
That’s genuinely all you need. No special equipment, no expensive gadgets.
How to Make a Basic Jute Tote Bag at Home
This is the most popular style for beginners — a simple, open-top tote that works for grocery runs, books, or the beach.
Step 1: Cut the Fabric
Lay your jute fabric flat on a clean surface.
Cut two identical rectangular panels — these form the front and back of your bag. A common size is 14 inches wide by 16 inches tall, but adjust based on how large you want your bag.
Also cut two long, narrow strips for handles — typically 3 inches wide by 22 inches long. These give you room to fold and stitch into a sturdy strap.
When cutting jute, work carefully — the edges fray easily. You can run a quick zigzag stitch or apply a small amount of fabric glue along the cut edges immediately to stop fraying before it starts.
Step 2: (Optional) Press the Fabric
Run a warm iron over your cut panels to remove wrinkles. This step is optional, but it genuinely makes the sewing process easier and gives your finished bag a cleaner look.
Step 3: Sew the Handle Strips
Fold each handle strip in half lengthwise, so you get a strip roughly 1.5 inches wide. Fold the raw edges inward and press flat, then stitch along both long sides.
This gives you two neat, sturdy handles. Set them aside for now.
Step 4: Attach the Handles to the Front Panel
Place one of your jute panels (right side facing up). Position the handles where you want them — usually about 4 to 5 inches in from each side edge. Pin or clip them in place at the top edge.
Sew the handle ends to the top of the panel with a box-X stitch — a reinforced stitch pattern that distributes stress and stops handles from tearing through the fabric under load.
Do the same with the second panel.
Step 5: Sew the Side and Bottom Seams
Place both panels together with the right sides facing each other (and handles tucked safely inside). Pin or clip along both side edges and the bottom edge.
Using your sewing machine set to a medium stitch length, sew along both sides and the bottom with a ½-inch seam allowance. If you’re hand-stitching, use a strong double-thread running stitch and keep it tight.
Backstitch at the start and end of each seam — this prevents unravelling.
Step 6: Create the Box Bottom (Optional, But Worth It)
Want a bag that actually stands up and holds volume? Add a box bottom.
Turn the bag inside out. Take one bottom corner and pinch it flat, aligning the side seam with the bottom seam — this creates a triangle-shaped point. Measure 2 inches from the point and draw a straight line across the triangle. Sew across that line. Cut off the small triangle of excess fabric.
Repeat on the other corner. When you turn the bag right-side out, the bottom sits flat and opens up properly.
Step 7: Finish the Top Edge
Fold the top raw edge of the bag inward by about ½ inch, then fold it down again by another ½ inch to create a clean hem. Pin it in place and topstitch all the way around the top of the bag.
This gives the opening a neat, finished look and also reinforces the handle attachments.
Step 8: Turn Right-Side Out and Press
Turn the bag right-side out, push the corners out neatly with a blunt pencil or chopstick, and give the whole bag a light press with an iron.
Your jute bag is ready.
Also Read:
Blue Pottery: The Fascinating Story Behind Jaipur’s Most Iconic Craft
Maheshwari Sarees: The Royal Weave That Survived Empires, Factories, and Fast Fashion
No-Sew Jute Bag: A Quick Alternative
Don’t have a sewing machine and prefer skipping hand-stitching entirely? There’s a no-sew route.
According to Instructables, you can make a functional jute bag using fabric glue as your primary joining method. The basic approach:
- Cut your jute panels and handle strips as described above.
- Fold and glue the edges to prevent fraying.
- Glue the side panels together, pressing firmly and allowing adequate drying time.
- Attach rope or jute twine as handles by sewing just the handle ends with a needle and thread — a minimal stitch in a single spot holds well even if you avoid machine sewing everywhere else.
The no-sew version works well for lighter loads. If you plan to carry groceries or books, the stitched version is considerably stronger.
Adding a Lining to Your Jute Bag
Lining a jute bag makes it look more polished and adds useful structure. It also stops small items from falling through looser-weave jute fabric.
Cotton is the most popular lining choice — it’s soft, easy to sew, and comes in endless colours. Cut your lining panels to the same dimensions as your jute panels. Sew the lining into a bag shape, then drop it inside your finished jute bag with wrong sides together. Fold the top edges of both layers down together and topstitch to close.
You can also add an interior pocket to the lining before assembly — just attach a small rectangle of cotton to the lining panel at the pocket position (around 4 inches down from the top), leaving the top open.
Decorating Your Jute Bag
A plain jute bag is functional. A decorated jute bag becomes a statement.
Here are a few decoration approaches that work well on jute:
Fabric paint: Use fabric-grade acrylic paint or fabric markers to draw designs, stencil patterns, or write text directly on the bag. After painting, slide a piece of cardboard inside the bag so paint doesn’t bleed through to the back panel. Allow 20 hours of drying time, then heat-set by ironing the reverse side on a cotton setting for 3 to 5 minutes, as outlined by craft blogger SomeKindArt.
Embroidery: Jute’s open weave makes it easy to hand-embroider patterns using colourful thread. Initials, florals, or geometric patterns all work beautifully.
Fabric trim and lace: Apply decorative trim, rickrack, or lace along the bottom edge or handles with fabric glue or a simple running stitch.
Stamps and screen printing: Foam stamps with fabric ink create consistent repeat patterns. Great for making multiple bags with the same design.
How to Care for Your Jute Bag
Jute is durable, but it doesn’t love water. Here’s how to keep your bag in good shape:
- Spot clean with a damp cloth for minor stains.
- For deeper cleaning, hand wash with mild soap and a soft brush. Never soak the bag — excessive water weakens jute fibres.
- Air dry thoroughly in a well-ventilated space, away from direct sunlight, which fades colour and dries fibres.
- Avoid machine washing — the agitation and prolonged water exposure can damage the weave and warp the shape.
A well-maintained jute bag lasts for years.
Types of Jute Bags You Can Make at Home
Once you’re comfortable with the basic tote, there are more styles to try:
Drawstring bag: Instead of handles, sew a channel at the top of your bag and thread a cord or rope through it. Great for gym kits, gifts, or smaller everyday pouches.
Shopper bag with gusset: Add side gussets (fabric panels sewn between the front and back) for a wider bag with more capacity — ideal for farmers markets.
Gift bag: Smaller version with a ribbon tie at the top. Makes beautifully eco-friendly packaging for presents.
Is It Worth Making Your Own?
The materials cost very little. A metre of basic jute fabric costs a fraction of what a ready-made bag sells for in retail. You also get full control over size, design, lining, and handles — nobody else’s “standard size” to work around.
More importantly, every bag you make is one fewer plastic bag in circulation.
Jute is second only to cotton in global natural fibre production, and as Tote Bag Factory notes, it biodegrades within 1 to 2 years compared to the centuries plastic takes to break down. That’s a meaningful difference, and you can start contributing to it with materials you can find at your nearest craft store.
Final Thoughts
Making jute bags at home combines something practical with something genuinely positive for the environment. You end up with a bag that carries real things, lasts real years, and costs far less than it looks.
Start with a basic tote. Get comfortable with the process. Then customise — add a lining, try a drawstring version, paint a design. The technique scales well once you understand the fundamentals.
And the next time someone sees your bag and asks where you got it, you get to say you made it yourself.
That’s almost as satisfying as actually using it.