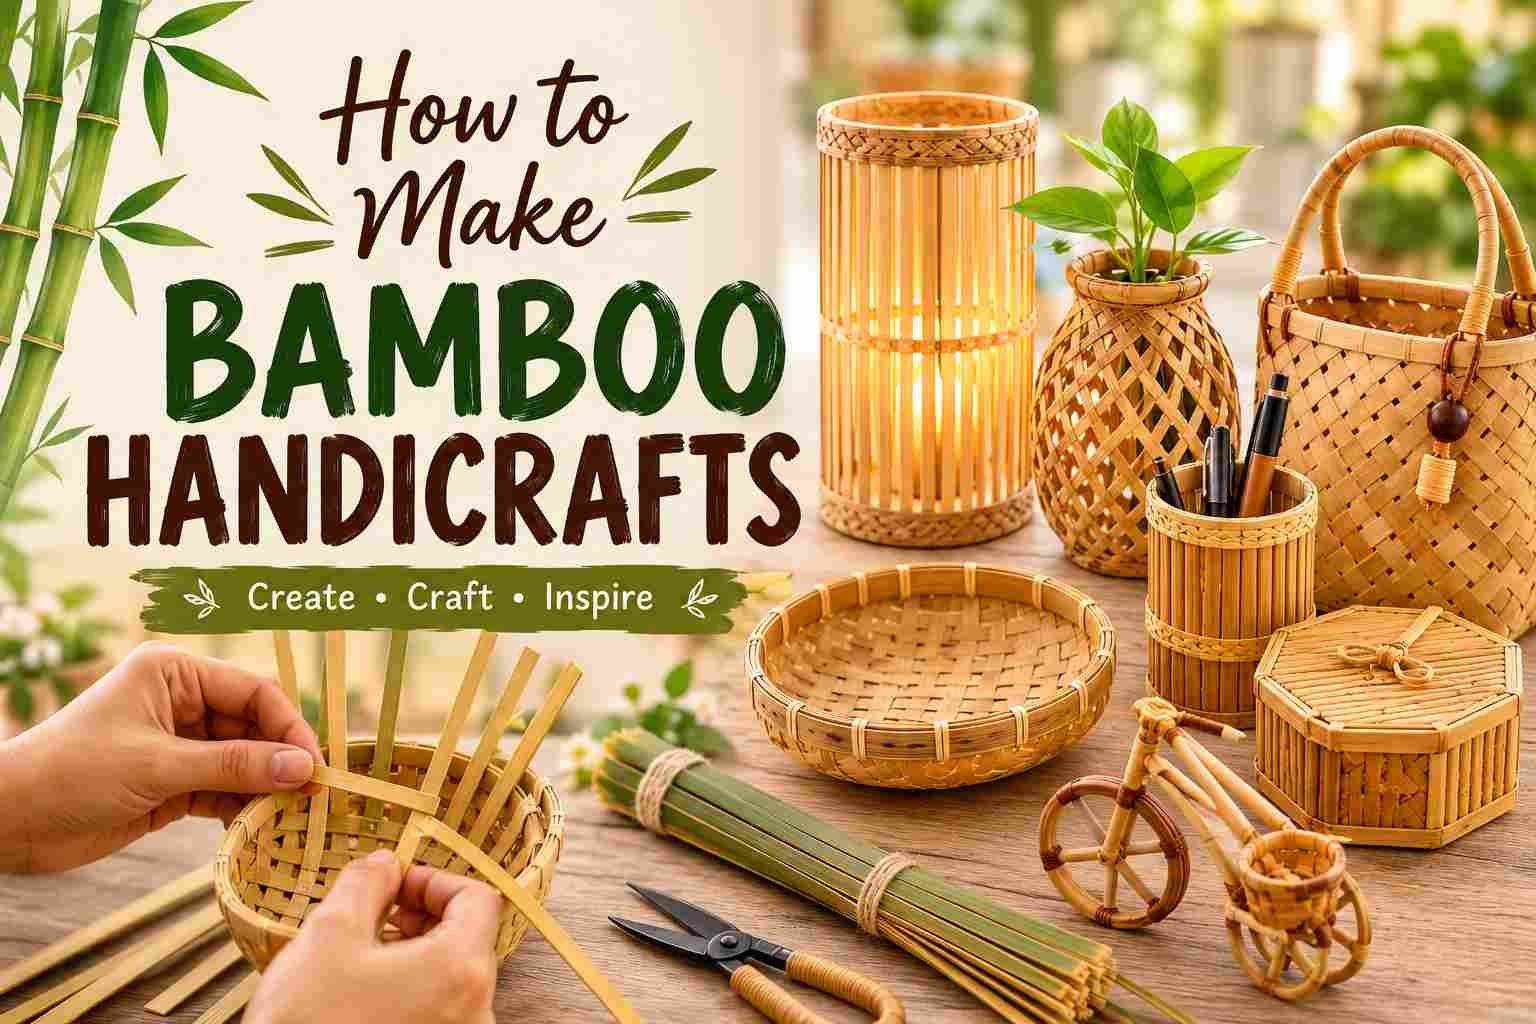
How to Make Bamboo Handicrafts, Bamboo is one of those materials that makes you wonder why more people aren’t using it.
It grows up to 91 cm in a single day — that’s a verified Guinness World Record. It reaches full maturity in 3 to 5 years, while a timber tree takes 30 to 50. It sequesters up to 12 tonnes of CO₂ per hectare per year, more than most hardwood forests. And yet, here you are, probably still throwing away plastic.
Making bamboo handicrafts isn’t just a creative hobby. It’s one of the most practical, low-waste things you can do with your hands. This guide walks you through everything — from choosing the right bamboo to finishing your first piece properly.
Why Bamboo Is the Right Material for Handicrafts
Before diving into tools and techniques, it helps to understand what you’re actually working with.
Bamboo is technically a grass, not a tree. There are more than 1,200 species of bamboo globally, and it grows across tropical, subtropical, and even colder climates — some species survive temperatures as low as −20°C, according to research published via Springer Nature.
What makes it exceptional for handicrafts is the combination of properties that almost no other material offers together:
Strength: Bamboo’s tensile strength rivals that of steel when measured along the grain. Artisans in India’s Wayanad district have worked with bamboo for generations precisely because of this durability.
Flexibility: When split into thin slivers, bamboo bends without breaking. This is what makes basket weaving, lamp shades, and screen panels possible.
Antibacterial properties: The natural compound bamboo-kun gives bamboo its antimicrobial qualities — which is why bamboo cutting boards and kitchen utensils remain popular for practical reasons, not just aesthetics.
Renewability: Bamboo yields up to 20 times more timber per hectare than trees and needs no replanting after harvest — the root system regenerates a new culm automatically.
In short: it’s strong, flexible, sustainable, and versatile. That’s a rare combination in any material.
Step 1: Selecting the Right Bamboo
Not all bamboo suits all projects. Selecting the wrong type or age will ruin the craft before you’ve cut a single strip.
Choose mature culms. For any handicraft work, select bamboo that is 3 to 5 years old. Younger bamboo is too soft and prone to shrinking or cracking. Older bamboo becomes brittle and splits unpredictably. Three-year-old culms offer the sweet spot — firm, flexible, and durable, as recommended by craft guides from Indochina Light and Jibamboo.
Harvest during the dry season. Dry-season bamboo has lower sap and starch content, which makes it less attractive to pests and less likely to develop mould. This isn’t optional advice — it’s the difference between a piece that lasts a decade and one that deteriorates in months.
Popular species for handicrafts:
- Moso bamboo — thick-walled, excellent for furniture and structural pieces
- Henon bamboo — long fibres, ideal for tight weaving
- Guadua bamboo — strong and widely used in construction-grade crafts
- Phyllostachys varieties — suitable for decorative and light-weight projects
Once you’ve selected your bamboo, remove branches and clean the nodes. Sharp cuts at the joints give you cleaner working material.
Step 2: Preparing the Bamboo
Raw bamboo needs preparation before any shaping or weaving begins. Skipping this step is how beginners end up with warped, cracked, or pest-infested work.
Soaking: Submerge bamboo in water for 24 to 48 hours before working with it. This softens the fibres, reduces splitting during bending, and makes the material far more cooperative — especially for tight curves and intricate weaving patterns.
Seasoning/Curing: For larger projects like furniture or decorative poles, curing is essential. Stack culms vertically in a shaded, well-ventilated area and allow natural air drying for 6 to 12 weeks. This removes moisture gradually, which strengthens the bamboo and prevents cracking later.
Splitting: Use a bamboo splitter — a star-shaped steel tool that divides a pole into 4, 6, or 8 equal sections in one clean motion — or a sharp cleaver for manual splitting. Apply even, consistent pressure from the top of the culm downward. Uneven pressure produces strips of different widths, which causes problems during weaving.
Refining strips: Smooth the inner wall of each strip using a refining knife to remove the inner skin and reduce thickness where needed. This step separates clean strips from rough ones, and it directly affects how evenly your finished weave looks.
Step 3: Essential Tools You Need
You don’t need a workshop full of power tools to make bamboo handicrafts. Traditional artisans in Tripura, India, documented by Google Arts & Culture in partnership with the Dastkari Haat Samiti, use light saws, indigenous cutting knives called dao and takal, and basic hand tools to produce extraordinary work.
Here’s a practical list for beginners:
- Sharp saw or hacksaw — for cutting culms cleanly without splitting
- Bamboo splitter — faster and more consistent than a knife for splitting poles
- Refining knife — for thinning and smoothing strips
- Hand drill — essential for joining pieces without cracking
- Measuring tape — consistent strip width is critical for neat weaving
- Heat gun — for bending bamboo without snapping it
- Sandpaper (medium and fine grit) — for smoothing surfaces before finishing
- Clamps — to hold pieces together while adhesive or bindings dry
- Cut-resistant gloves — freshly split bamboo is razor-sharp; this is non-negotiable
For more advanced projects, a sabre saw and electric drill speed up the process without changing the core techniques.
Step 4: Core Techniques for Making Bamboo Handicrafts
Once your bamboo is prepared and your tools are ready, these are the fundamental techniques every bamboo crafter uses.
Cutting
Always make clean, angled cuts on bamboo. A hacksaw gives the most control. If you use a bolo knife, make several slanting cuts around the circumference rather than a single straight cut — this avoids splitting the bamboo beyond your cut line.
Bending and Shaping
Heat bending is how artisans give bamboo its curves. Apply gentle, even heat from a heat gun to the point where you want the bend. As the bamboo warms, it becomes pliable. Hold the bend in place as it cools — bamboo holds its new shape once it sets. Rushing this step breaks the piece.
For furniture construction, select culms with a diameter of 1.5 to 3 inches for chairs and structural frames.
Weaving
Bamboo weaving is an ancient craft with roots stretching back over 7,000 years, originating in China, Japan, and Vietnam, where it began as a practical technique for making farming tools and baskets. Today it produces everything from decorative screens to furniture panels.
The process involves interlacing strips over and under each other in a set pattern. Common weave patterns include:
- Plain weave — one over, one under, the most basic pattern
- Twill weave — creates a diagonal pattern, stronger than plain
- Hexagonal weave — complex, used in decorative baskets and lamp shades
Dampen your strips during weaving to keep them pliable. Dry strips crack under tension.
Joining Pieces
Joining bamboo is the skill that separates decent crafts from outstanding ones. Traditional joinery methods include rope binding, bamboo dowels, and mortise-and-tenon joints. For functional furniture, drill a small hole before driving any fastener — never nail into bamboo directly. The hollow structure will split.
Rope and twine bindings add visual character while providing genuine strength. Natural plant-based glues or beeswax work well for light-duty joins.
Pyrography (Decorative Burning)
This decorative technique involves burning designs into bamboo using a heated wire loop. Create a loop in a piece of wire, heat it until red-hot, hold the bamboo firmly in a vice, and burn designs carefully into the surface. The result gives bamboo a distinctive, etched appearance that paint can’t replicate.
Also Read:
How to Make Resin Art Coasters
How to Make Jute Bags at Home
Step 5: Finishing Your Bamboo Handicraft
Finishing protects your work and determines how long it lasts.
Sanding: Sand all surfaces thoroughly with medium-grit paper first, then follow with fine-grit to remove any splinters or rough edges. This step is critical for anything people will handle or use at a table.
Sealing and oiling: Apply bamboo oil, coconut oil, mineral oil, or a natural wax finish to seal the fibres. This protects against moisture, prevents the bamboo from drying out and cracking, and gives a warm, natural sheen. For kitchen items like cutting boards and utensils, always use food-safe finishes only.
For outdoor pieces: Use a weatherproof varnish or exterior-grade sealant. Outdoor bamboo handicrafts face humidity, UV, and temperature changes — unsealed pieces deteriorate fast.
Pest prevention: A light mist of diluted neem oil or white vinegar can deter insects and inhibit mould growth. This matters most in humid climates where bamboo is more susceptible to infestation.
Avoid painting bamboo unless the project specifically calls for it. Paint obscures the natural grain and texture — which is honestly the main reason people love bamboo in the first place.
Beginner Project Ideas to Start With
Not sure where to begin? Start small and build confidence before moving to furniture.
Hot pan trivet — The simplest entry project. Cut bamboo sticks to equal length, sand edges smooth, and bind them together with twine. You use all the core techniques in miniature: cutting, sanding, and joining.
Bamboo basket — A foundational weaving project. Takes patience but teaches every weaving skill you’ll need later.
Bamboo lamp shade — A stunning decorative piece using hexagonal or plain weave. The light filtering through a bamboo weave is genuinely beautiful and something no factory product quite replicates.
Bamboo picture frame — Straightforward for beginners. Cut poles to length, mitre the corners, and join with dowels and glue.
Bamboo furniture (chairs, benches, shelves) — These come once you’ve mastered cutting, bending, and joining. A well-built bamboo chair requires no metal nails or screws and lasts for years with proper care.
Caring for Bamboo Handicrafts
Good craft deserves proper care.
Keep bamboo pieces away from direct sunlight for extended periods — UV exposure bleaches and dries the fibres over time. Store in a dry environment with reasonable air circulation. High humidity encourages mould, especially in unfinished pieces.
Re-oil periodically. Bamboo loses its natural moisture content over time. Applying oil once or twice a year keeps it supple and prevents cracking.
For bamboo baskets and woven pieces, avoid soaking them in water — occasional light damp-wiping is fine. The weave will loosen permanently with prolonged water exposure.
Final Thoughts
Making bamboo handicrafts connects you to one of humanity’s oldest craft traditions and one of its most urgent sustainability conversations at the same time.
Bamboo produces 35% more oxygen than an equivalent area of trees on a pound-for-pound basis. A single culm sequesters 50 to 60 kilograms of CO₂ over its lifespan. Every piece you make from this material is one less demand placed on forests that take decades to recover.
And beyond all of that — it’s genuinely satisfying to work with. The material is responsive, versatile, and forgiving once you understand it. Whether you’re making a small trivet for your kitchen or a full chair for your garden, the process teaches you something that synthetic materials never could.
Start with sharp tools, mature bamboo, and patience.