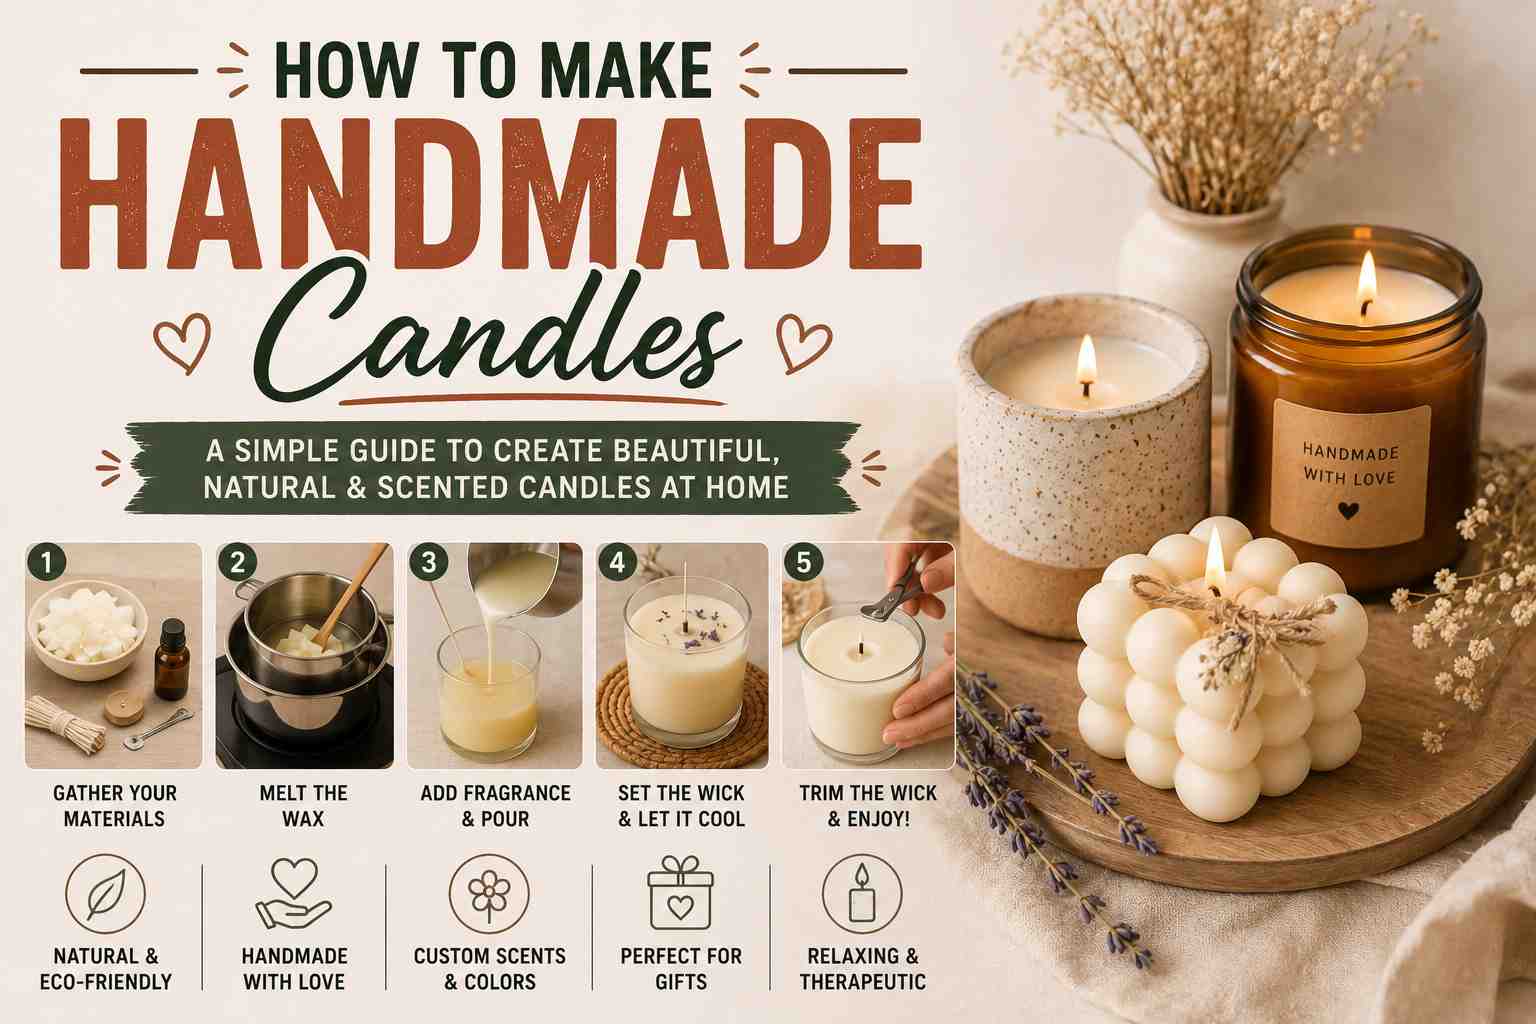
How to Make Handmade Candles, There’s something oddly satisfying about making your own candle. You pour melted wax into a jar, add your favourite scent, and a few hours later you have something that looks like it came from a boutique — except it didn’t cost boutique prices, and you made it yourself.
The process sounds simple, and honestly, it is. But a few small mistakes can turn your first batch into a tunnelling, weak-smelling, uneven mess. This guide covers everything you need to know to make handmade candles properly, from choosing the right wax to nailing the perfect scent throw.
What You Need Before You Start
Good candle making comes down to three things: the right wax, the right wick, and temperature control. Everything else supports those three.
Here’s the complete list of supplies you’ll need:
- Candle wax (soy, paraffin, or beeswax — more on this below)
- Pre-tabbed cotton wicks sized for your container diameter
- Heat-resistant glass jars or metal tins
- Double boiler (a pouring pitcher inside a saucepan of simmering water)
- Digital kitchen scale — this is non-negotiable; never measure by volume
- Candy thermometer or digital laser thermometer
- Fragrance oil specifically made for candle making
- Wick centering device (chopsticks, a pencil, or clothespins work fine)
- Wick sticker or dab of hot glue to secure the wick to the jar bottom
Don’t substitute a microwave for a double boiler. You can’t monitor temperature that way, and wax can scorch unevenly. The double boiler method keeps heat controlled, which matters more than most beginners expect.
Choosing Your Wax: Soy, Paraffin, or Beeswax?
Wax is the body of your candle. Get this decision right and everything else is easier.
Soy wax is the most beginner-friendly option for container candles. According to A Beautiful Mess and Candle Making Craft, soy wax melts evenly, cleans up easily, holds fragrance well, and gives a soft matte finish. It’s also biodegradable and sourced from soybeans, which makes it a popular natural choice. One honest trade-off: soy wax can develop a slightly frosted appearance over time, but that’s purely cosmetic and doesn’t affect burn quality.
Paraffin wax is petroleum-based, more affordable, and delivers a stronger hot scent throw than soy. It’s the wax you’ll find in most commercially produced candles. If you’re budget-conscious or want vibrant colour, paraffin is a reliable pick.
Beeswax is the most premium option. It burns beautifully, has a natural light honey scent on its own, and is chemical-free. The downside? It costs more and offers less flexibility when you add fragrances.
For a first project, start with soy. It’s forgiving, produces clean results, and teaches you the fundamentals without expensive failures.
Picking the Right Wick
The wick controls the flame, the melt pool, and how cleanly your candle burns. A wick that’s too small creates tunnelling — that hollow crater in the centre where the candle burns down without melting the wax near the edges. A wick that’s too large produces a dangerously high flame, excess soot, and can overheat your container.
According to Candle Making Craft’s step-by-step guide, wick sizing follows the inner diameter of your container:
- 2-inch diameter → small wick (LX-10 or CD-5)
- 3-inch diameter → medium wick (LX-12 or CD-7)
Always check the wick manufacturer’s recommendations, as they vary by wax type and brand. Pre-tabbed cotton wicks are the easiest starting point for beginners. Wood wicks add a soft crackling sound (very satisfying) but need more testing to get right.
Test before you commit to a large batch. One poorly chosen wick can ruin every candle in a set.
The Step-by-Step Process for Making Handmade Candles
Step 1: Prepare Your Workspace and Containers
Cover your surface with newspaper or a silicone mat. Wax is messy, and molten wax on a countertop is no one’s idea of a good time.
Clean your jars with rubbing alcohol and let them dry completely. Any dust or oil residue can affect how the wax adheres to the container wall.
Step 2: Secure the Wick
Use a wick sticker or a small dab of hot glue to fix the metal tab of the pre-tabbed wick to the centre of the jar base. Position your pencil, chopstick, or clothespin across the top of the jar to keep the wick upright and centred. A wick that shifts during pouring means an uneven burn.
Step 3: Measure and Melt the Wax
Fill your container with wax flakes to estimate how much you need, then weigh it on your digital scale. This gives you the base weight for calculating fragrance later.
Add the wax to your pouring pitcher, place it in a saucepan with about 2 inches of simmering water, and heat over medium. According to Live Simply’s beginner guide, soy wax melts in around 15 minutes; beeswax pellets take slightly longer.
Heat the wax to between 175–185°F (79–85°C) and use your thermometer throughout. Don’t guess. Overheating degrades the wax and causes surface issues in the finished candle.
Step 4: Add Fragrance at the Right Temperature
Here’s where most beginners go wrong — twice.
First mistake: adding too much fragrance. The recommended fragrance load for most candles sits between 6% and 10% of the wax weight by mass, as documented by Craftybase’s fragrance load guide and Candlewic. A simple starting point is 1 oz of fragrance oil per 1 lb of wax (roughly 6.25%). You can test up to 8% for a stronger scent. Exceeding the wax’s maximum capacity doesn’t produce a stronger candle — it causes oil pooling on the surface, wick clogging, and poor burn quality.
Second mistake: measuring fragrance by volume. Always weigh your fragrance oil on your digital scale. Fragrance oils are denser than wax, so a tablespoon of fragrance oil weighs more than a tablespoon of wax. Volume measurements give inconsistent results every time.
Remove the wax from heat once it reaches your target temperature, then add your fragrance oil. Stir slowly and steadily for at least two full minutes to fully incorporate the scent into the wax.
Use fragrance oils specifically designed for candle making — not perfumes, colognes, or random essential oils. According to A Beautiful Mess, essential oils can evaporate at high heat and produce a weak or no scent throw in the finished candle.
Step 5: Add Colour (Optional)
If you want coloured candles, add candle-grade dye chips or blocks now and stir until fully dissolved. Do not use crayons — they clog the wick and burn poorly, as noted by Lone Star Candle Supply’s guide to candle making dos and don’ts.
Step 6: Cool Slightly and Pour
Allow the wax to cool to around 125°F (52°C) before pouring. This temperature gives you a smooth surface and better adhesion to the container walls.
Pour slowly and steadily to avoid air bubbles and splashes. If the wick shifts, straighten it quickly while the wax is still fluid.
Step 7: Let It Cool Completely
Leave your candles undisturbed at room temperature for several hours — ideally overnight. Don’t move them, don’t place them near a vent, and absolutely don’t put them in the fridge to speed up the process. Rapid cooling causes cracking and sinkholes.
Curing: The Step Nobody Wants to Wait For
Once your candle has hardened, resist the urge to light it immediately. Natural waxes like soy need time to fully bind with fragrance oil molecules — a process called curing. Light too soon and you’ll get weak scent throw and an uneven burn.
Most soy candles cure best over 1–2 weeks, according to Makesy’s guide to common candle making mistakes. Paraffin typically needs less curing time.
It’s the hardest part of making handmade candles: watching your beautiful creation sit there, fully formed, waiting. But patience here pays off in every burn.
Also Read:
How to Make a Macrame Wall Hanging
Trim the Wick Before Every Burn
Once cured, trim the wick to ¼ inch (about 6mm) before the first burn and before every subsequent burn. A longer wick produces a taller, hotter flame that generates soot and burns through the candle too quickly.
Use scissors or a dedicated wick trimmer. It takes five seconds and extends the life of your candle considerably.
Common Mistakes to Avoid
Even experienced makers hit these — knowing them upfront saves time and materials:
Tunnelling: Usually caused by a wick that’s too small or not letting the candle reach a full melt pool on the first burn. On the first light, burn your candle until the entire surface liquefies from edge to edge. This sets the memory of the candle.
Weak scent throw: Often a fragrance load issue, but also caused by adding fragrance at the wrong temperature, using the wrong wick size, or not allowing full cure time. Check all three before adjusting fragrance percentage.
Sinkholes: Happen when the candle cools too quickly. Always cool at room temperature.
Wick keeps going out: Usually means the wick is too short, or excess hardened wax has covered it. Gently clear the wax around the wick base.
Final Thoughts
Making handmade candles is genuinely straightforward once you understand why each step matters. The wax sets the foundation, the wick controls the burn, and temperature discipline holds everything together.
Your first batch probably won’t be perfect. That’s fine — every experienced candle maker has stories about tunnelling disasters and scents that smelled great in the bottle but vanished entirely by the time the wax set.
Keep notes on your wax type, fragrance load, pour temperature, and wick size for every batch. That log is how you move from guessing to consistently producing candles you’re proud to gift, sell, or light at home.
The rest is just practice — and your house will smell great while you figure it out.