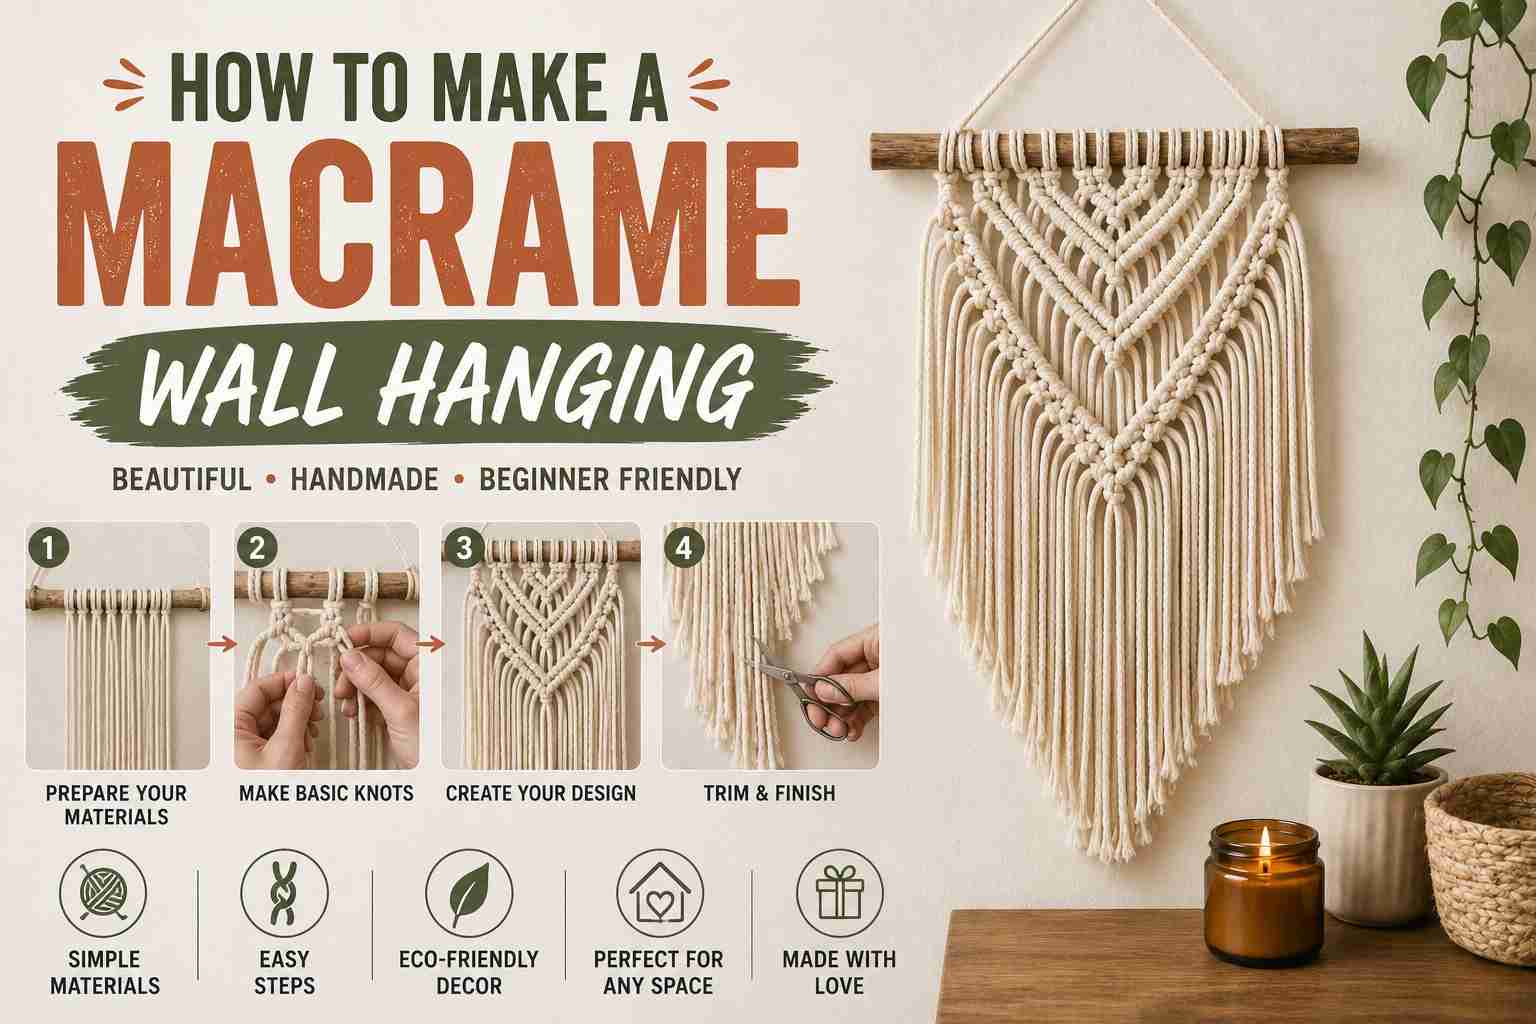
How to Make a Macrame Wall Hanging, Let’s get one thing straight. Macrame looks complicated. Those intricate knots, the perfectly frayed fringe, the boho charm that makes your living room look like a Pinterest board came to life — all of it seems like something only extremely patient, craft-obsessed people can pull off.
It’s not.
Making a macrame wall hanging is genuinely beginner-friendly. You need a few supplies, a handful of knots, and a free afternoon. That’s it. This guide walks you through everything — from history and materials to knots and finishing touches — so you leave here actually knowing how to make one.
A Quick Look at Where Macrame Comes From
Before you start tying knots, here’s some context worth knowing — because macrame has a genuinely fascinating backstory.
Macrame is believed to have originated with 13th-century Arab weavers who knotted the excess thread and yarn along the edges of hand-loomed fabrics into decorative fringes on bath towels, shawls, and veils.
The Spanish word macramé derives from the Arabic migramah (مقرمة), believed to mean “striped towel,” “ornamental fringe,” or “embroidered veil.”
From there, the craft traveled through Europe via Moorish Spain, landed in Italian workshops, reached the English royal court, and then sailors made macrame objects in off hours while at sea and sold or bartered them when they landed, spreading the art to places like China and the New World.
It peaked again in the Victorian era, went quiet, exploded in the 1970s with plant hangers and owl wall art, faded briefly, and now — thanks to social media and a global appetite for handmade home décor — it’s back in a big way.
Go to any home decor store and you can’t miss it — macrame wall hangings everywhere.
So when you make your first macrame wall hanging, you join a craft tradition that spans eight centuries and four continents. That’s not bad for an afternoon project.
Also Read:
Pichwai Paintings: The 400-Year-Old Art Form That Still Stops People in Their Tracks
What You Need to Get Started
Good news: the supply list is short. You don’t need a sewing machine, a loom, or any special tools. Here’s what you actually need.
Macrame cord — This is your most important decision. For a beginner wall hanging, 4mm three-strand twisted cotton rope works best. It holds up well for knotting, and the fringe looks really pretty when you untwist it at the end. Single-strand cotton and braided cord both work too, though braided cord won’t give you that soft, fluffy fringe most people love.
A wooden dowel — Your dowel can be a simple wooden branch from your garden, a piece of driftwood from the beach, or a plain wooden stick from a DIY store. The size depends on how wide you want your finished piece. A 30cm (12-inch) dowel suits a small beginner project perfectly.
Scissors — Sharp ones. Macrame cord doesn’t enjoy being sawed through with blunt scissors, and neither will you.
A measuring tape — You’ll need this to cut cords to consistent lengths. Eyeballing it works until it really doesn’t.
A comb or stiff-bristled brush — For brushing out and fluffing the fringe at the end. Optional, but it makes a visible difference.
Hanging space — While working on wall hangings, suspend the pole across the top of two chairs or hang it over a door. Some crafters use a rod with S hooks so they can place the dowel on it while working.
That’s genuinely everything. No need to panic-order seventeen supplies from three different websites.
The Four Knots You Need to Know
Here’s the real secret to macrame: making a macrame wall hanging is easier than you might think — you only need to know the basic macrame knots to recreate most patterns.
For a beginner project, you need just four knots. Learn these, and you can make almost anything.
1. The Lark’s Head Knot
This is how you attach your cords to the dowel. Created by folding a cord in half and looping the folded end over a rod or another cord, then pulling the loose ends through the loop. Every macrame wall hanging starts here.
2. The Square Knot
The square knot is the most basic of all macrame knots, and it’s the only one you need to know to make many wall hangings.
The process: always work with 4 strands. Place the right outer cord across the 2 centre cords. Run the left outer cord over the right cord, then under the centre cords, and up through the opening. Tighten. Then repeat, starting with the left side this time. That’s one complete square knot.
The alternating square knot — similar to the standard square knot but alternating working cords — creates a spiral or net-like effect and is often used in plant hangers and wall hangings.
3. The Double Half Hitch Knot
This knot creates solid diagonal lines and structured shapes. Start with the cord hanging behind the dowel or anchor cord. Take the end of the cord, pull it toward you, loop it over and pull to the left. Repeat this step once more, pulling the end of the cord up through the loop you’ve created. Tighten.
Rows of double half hitch knots create the bold geometric stripes and V-shapes you see in most intermediate designs.
4. The Rya Knot
This is your fringe knot. You use it to add decorative loops of cord that, once brushed out, create that fluffy, textured fringe at the bottom of most wall hangings. It’s essentially a lark’s head knot tied around a group of cords — the result is a burst of soft texture that makes the whole piece look finished and intentional.
How to Make a Basic Macrame Wall Hanging: Step by Step
This beginner project uses a lark’s head knot, square knots, and a simple fringe finish. It suits a 30–40cm dowel and uses 3mm or 4mm cotton cord.
Step 1: Cut your cords Cut 16 pieces of cord, each roughly 2 metres (about 6.5 feet) long. When folded in half and attached to the dowel, each piece gives you two working strands of about 90cm — enough for a small to medium wall hanging with fringe.
A general rule: cut your cords 4 to 5 times the finished length you want. For longer pieces, cut accordingly.
Step 2: Attach cords to the dowel using lark’s head knots Fold each cord in half, place the loop behind the dowel, pull the two ends through the loop from front to back, and tighten. Repeat for all 16 cords. You now have 32 working strands.
Step 3: Tie a row of square knots Group your strands into sets of 4. Tie one square knot in each group across the full width of the dowel. This creates your first row — the foundation of the design.
Step 4: Tie alternating square knots For the second row, skip the first 2 strands and start from the 3rd strand. Group the next 4 strands together and tie a square knot. Continue across. This offset creates the classic diamond lattice pattern that appears in nearly every beginner macrame wall hanging.
Repeat rows, alternating each time, until you reach the length you want.
Step 5: Create the fringe Stop knotting when you have enough cord remaining for the fringe. Leave the remaining cords hanging freely, or add rya knots for extra texture and volume.
Step 6: Trim and finish Trim the bottom cords to your preferred length and angle — straight across, angled, or in a V-shape. Unravel the cord ends to create a fluffy fringe effect. Use a stiff brush or comb to brush out the fibres until they’re soft and full.
Step 7: Add a hanging cord Tie a length of cord across both ends of the dowel so you can hang the finished piece on a nail or hook.
Common Mistakes Beginners Make (and How to Avoid Them)
Cutting cords too short — This is the most common beginner problem. Always cut longer than you think you need. Leftover cord at the bottom becomes fringe. Running out of cord mid-project is genuinely frustrating.
Loose, uneven knots — Consistent tension is everything in macrame. Pull each knot with the same firmness. Too loose and the design looks sloppy; too tight and the piece bunches up.
Not suspending the dowel while working — If you try to work with the dowel lying flat on a table, your knots will be uneven and you can’t judge spacing or tension properly. Always hang it while you work.
Skipping the brushing step — Brushing out the fringe transforms the piece. It’s the difference between “I made a thing” and “I made a thing that looks genuinely beautiful.”
Cord and Colour Tips
Most beginners start with natural white or off-white cotton cord — it’s the classic macrame look, it photographs beautifully, and it suits almost any interior style. As you get more confident, experimenting with lighter colours and gold or silver threads can give your wall hanging a more contemporary appeal.
You can also add even more interest to a simple macrame wall hanging with a quick dip in colourful dye — a technique that adds a lot of visual depth without requiring more complex knotting.
Coloured yarn works too if you can’t access cotton cord. Using colourful yarn lets you add a lot of colour and interest using supplies you probably already have at home.
How Long Does It Actually Take?
A macrame plant hanger takes about an hour, while a more intricate DIY macrame wall hanging could take 4 or more hours.
For a basic beginner wall hanging using only square knots, expect 2 to 3 hours for your first attempt, including time spent learning the knots. Once you’ve done it once, the second piece goes significantly faster.
The craft rewards patience rather than speed. Rushing knots shows. Taking your time produces something you’ll genuinely want to hang on your wall — and leave there for years.
Final Thoughts
Making a macrame wall hanging is one of those rare crafts where the effort-to-result ratio is genuinely satisfying. You put in a few hours, you come out with something handmade, beautiful, and completely yours.
The knots have a 13th-century history. The technique crossed empires, oceans, and the desks of Victorian queens. And now it’s yours to pick up with a roll of cotton cord and a free Saturday.