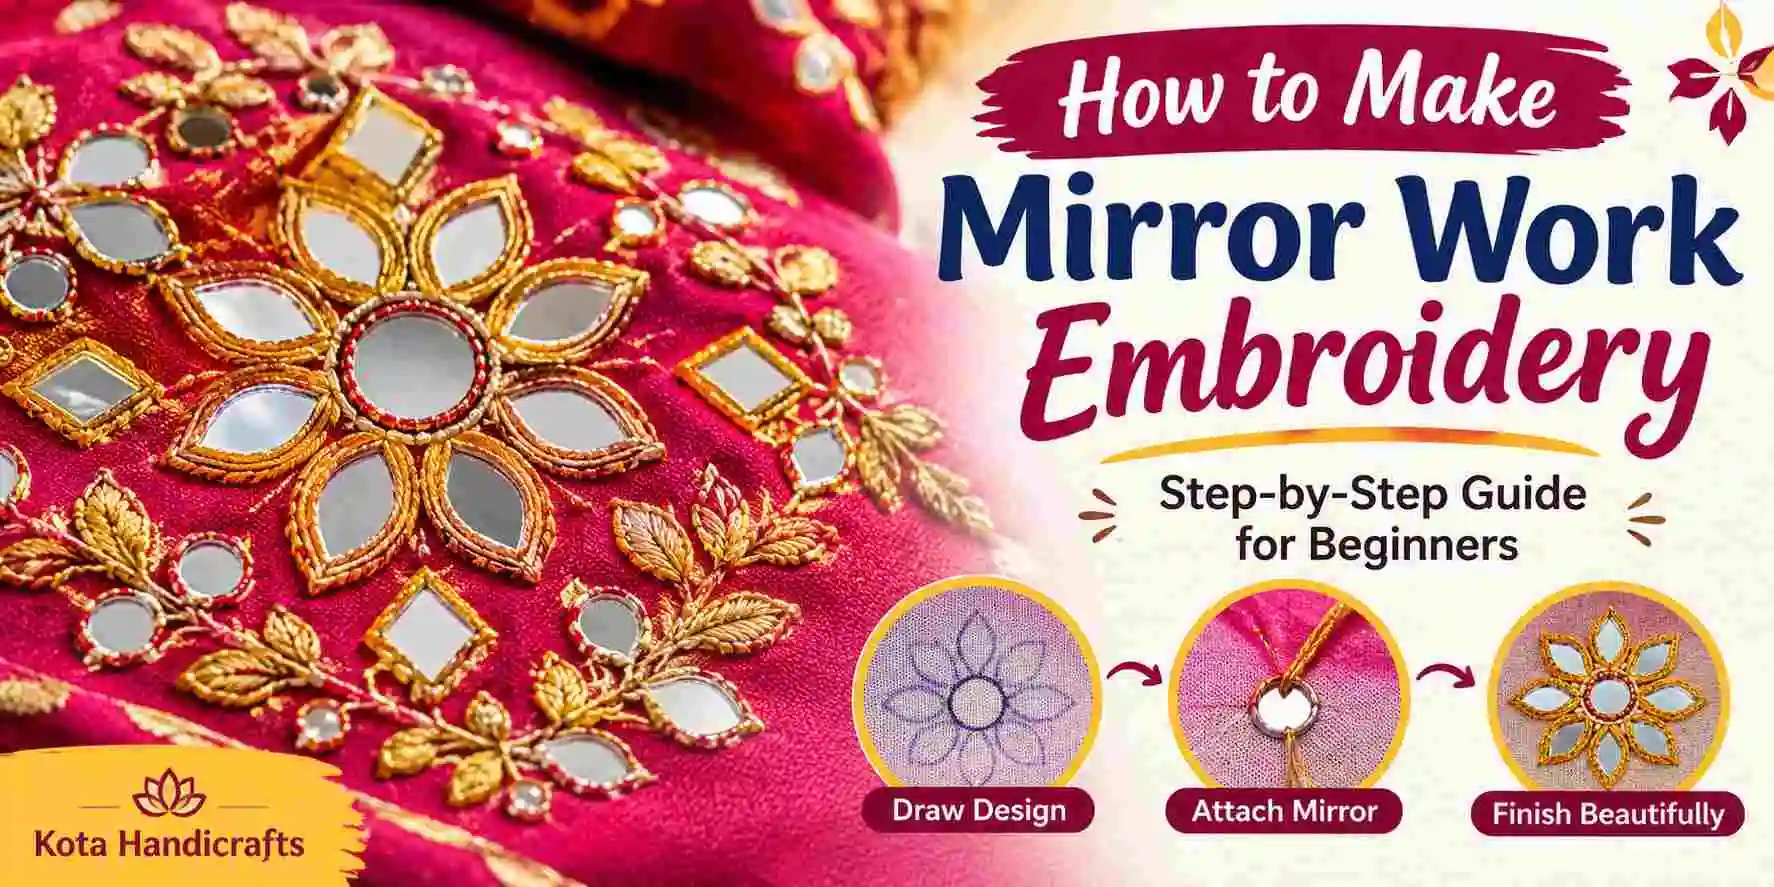
How To make mirror work embroidery, you hold a small mirror against the fabric, anchor it with a cage of straight stitches, then cover the edge of the glass with a decorative stitch, usually buttonhole (blanket) stitch. That is the whole technique. Everything else, from the fancy frames to the beaded borders, sits on top of those two layers.
Mirror work is also called shisha embroidery. Most beginners rush the cage and spend their energy on the pretty stitch. Do it the other way round and your mirrors will stay put.
What you need
You need a few small mirrors (round ones are easiest), a fabric with some body, an embroidery needle and thread. One teaching handout on shisha work uses perle cotton. Knot the end of the thread, because you’ll need that knot for anchoring.
Before you start, file the edges of each mirror with a pumice stone or a nail file. The same handout points out that sharp glass edges fray thread and can roughen the needle itself, and its author admits to ruining a few.
Sequins work as a stand-in. Textile blogs describe a sequin as a plastic, silver-coated piece sold in many shapes and sizes, and it can replace glass in mirror work.
Step 1: Anchor the mirror
Place the mirror on the right side of the fabric and press it down with your thumb. Bring the thread up beside the edge, take a few tiny stitches against the glass to lock it, then snip the knot you left on top.
If you can’t hold the mirror and stitch at once, glue it down first. A small dab of fabric glue is enough, and one Indian embroidery tutor on her blog suggests exactly that for beginners.
Step 2: Lay the foundation stitches (spend your time here)
This is the part that holds everything together, and it takes the longest to get right.
The idea is simple. You lay long straight stitches across the face of the mirror so the thread forms a square lattice over it. One tutorial describes the first round like this: a stitch from top to bottom, then one from left to right along the bottom, then one from bottom to top on the right side, then one from right to left along the top. Those four stitches already hold the mirror, so everything after is extra security and looks.
Then you repeat the pattern, starting from the middle of the stitches you just made, so the second set of threads weaves over the first. Another beginner guide calls for two more stitches across the corners to lock things down. The teaching handout shows two numbered grids of eight stitches each. Stitch counts vary between teachers, so use the principle: the glass should be caged on all sides, with only a window of mirror left showing in the middle.
Tension matters more than anything else on this list. The handout says the foundation stitches should be tight enough to hold the mirror but loose enough to allow the decorative stitching that follows. If you pull too hard, there’s no room to slide the needle under the threads later. If you leave them slack, the mirror rattles around.
Use a plain embroidery needle for the foundation. The handout says a tapestry needle can work for the decorative stitching on some fabrics, though its author found the embroidery needle easier.
Step 3: Cover the edge with buttonhole stitch
Bring the needle up just outside the mirror’s edge. Slide it under the foundation threads (not through the fabric below them), loop the working thread under the needle and pull gently, so a small knot sits right on the rim. Move a little along the edge and repeat all the way round.
An embroiderer from India, writing in a comment on a textile blog, describes what she calls the quick wheel: lay a ring of chain stitch around the mirror’s edge, then work a row of buttonhole stitches on top, tightening gently toward the inside of the circle. She says some pieces use a single row of buttonhole with no chain base at all. For a bigger frame, add more rows.
Also Read :
How to Make Embroidery Hoop Art
How to Make Resin Art Coasters
Three old ways of fixing a mirror
The same commenter lists three approaches. The traditional one is the hardest: loose circles of chain stitch around the edge, each mounted on the last and tighter, four or five rounds in all. It covers about half the mirror’s width, so only a small circle of glass shows. According to her, you rarely see it on anything made in the last twenty years.
The second is the quick wheel above. The third is the straight-stitch method, where a stitch crosses each corner of a square or diamond mirror and more stitches then fill the exposed triangles, which is the cage from step 2.
She also makes a point that other guides skip: glass mirrors make embroidery heavy, so makers have started cutting circles from thick tinfoil sheets, which are much lighter. Her account is one person’s observation, not a survey of the trade, but it fits the weight problem anyone who has held a heavily mirrored dupatta will recognise.
Hoop or hand?
The teaching handout leaves this to personal choice. Its author found it easier to work in the hand after trying both. Try both on a scrap before you commit to a garment.
Dressing up the mirror
After the mirror is fixed, you can keep going. Some tutorials suggest a woven frame, a pointed-petal frame or lazy daisy stitch around the glass. A simpler route: buy or make a thread ring for the mirror, attach it to the fabric with small whip stitches, then add beads around it.
Where it came from
The teaching handout says shisha embroidery can be documented to the 17th century in India, with origins possibly much older and linked to the Mughal period. Shisha or shisheh means glass or mirror in Persian. Before glass mirrors became common, the same handout says, makers used coins, tin, silver and mica, and later glass.
In Rajasthan, the craft rarely appears on its own. A fashion retailer’s guide to mirror work notes it is almost always combined with colourful thread work, giving dense, textured surfaces. Today it also turns up around necklines and cuffs on kurtas, on saree pallus and borders, and on jackets.
Your first practice piece
Take a scrap of the fabric you plan to use. Stitch three mirrors in a row: one with only the foundation, one with foundation plus a single round of buttonhole, one with a chain base under the buttonhole. Look at the back as well as the front. Whichever one lies flatter and feels firmer is the one to use on your kurta.
Visit Our Youtube channel for How To make mirror work embroidery Video.